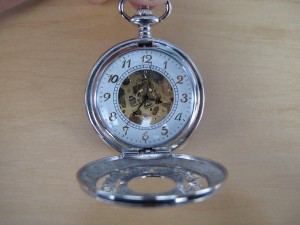
This year, I took an “Advanced Optics” course at TJHSST. See, in addition to AP Physics (which covers Mechanics and E&M), courses such as Optics, Quantum, Thermodynamics, and Relativity are useful for learning other fields of physics. In my Optics class, we focused on some theory (ray model, path length model), as well as a large number of experiments (wave experiments with a microwave transmitter/receiver => useful because the wavelengths are long enough to make setups such as interferometers, and experiments such as finding Brewster’s Angle easy to understand and manipulate).
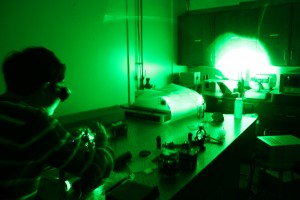
Near the end of the course, we were given the opportunity to use some very nice lab equipment to make holograms! So for a while, I had a chance to work with a group of friends to produce some pretty nice holograms. I had a lot of fun setting things up, trying to get anything to work, but it ended in a lot of failure. Eventually, what turned out to work well was use of a low power green laser, a highly reflective and diffuse object (close to the holographic film), and lots of patience.
How It Works
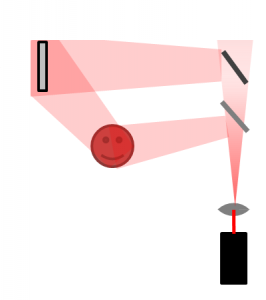
The basic idea of a hologram is that a reference laser beam is shined onto a very high resolution photographic film, and a beam reflected off a target object is also passed through this film. Now, when the beam hits the object, the laser is scattered in various directions and hits the film in a certain non-uniform pattern. This interferes with the reference beam already there, creating a series of lines and patterns that don’t resemble anything. However, remarkably, when laser light is passed through the film in just the right way, the object is reconstructed as if it were really behind the film… or at least that’s what should have happened…
It was pretty cool to see everything set up, but it turned out this system didn’t actually work very well. One major problem was that the object scattered light so much, there was hardly any interference with the very strong reference beam. We tried to increase the reflectivity of the first partial reflector, and use a nearly transparent second reflector, so that the beams would be about even, but even this didn’t balance the image. We ended up getting very light images appearing as holograms, but nothing really interesting. So we tried a different approach.
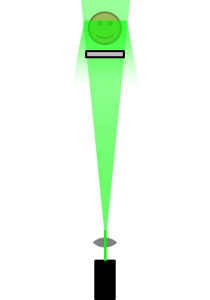
In this new setup, the object is placed very close to the (transparent) film, and the diffuse laser beam is shone directly onto the film. Then, light hitting the object gets reflected back to the film, thus giving the film a high percentage of the light reflected off the object. This allowed for much more contrast, yet was much simpler to construct. In fact, it even had the added benefit that this type of hologram could be viewed in any light that contained 532nm green light (the wavelength of this particular laser).
Results
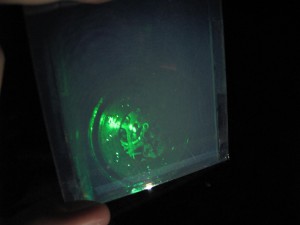
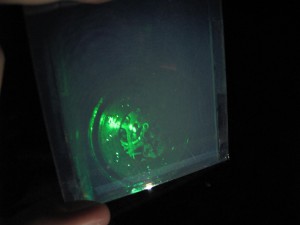
The results of this alternative method of holography were pretty decent. Although we didn’t get commercial-grade holograms, the holograms still worked quite well, and actually showed a fair amount of detail. The camera doesn’t really do it justice, but you can still see the image fairly well.
|
|
|
Well, that’s about it! It was a fun project especially amid all the stresses of Junior Year.
Special thanks also goes to Dr. Dell (my Optics teacher) for the materials, the lab space, and of course, for teaching us optics.
