With the head completed, I had to actually create the flashlight body. My sister, who was very interested in lathes and machining, helped me a lot with this part. The body consisted a $\frac{1}{2}$” OD x $\frac{3}{8}$” ID aluminum tube. As was the case for some previous flashlights, the inner diameter was not large enough, so it had to be drilled to about 11mm wide. After that, the outside of the case had to be polished, as can be seen in the picture. To do this, a series of sandpapers/micromeshes were used (down to 12,000 grit), then a polish applied.
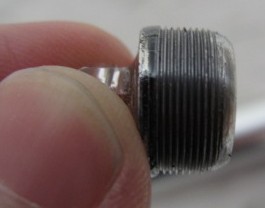
Then, I bought a screw tap specifically for threading the case. Here is the endcap that fits in the end of the case…
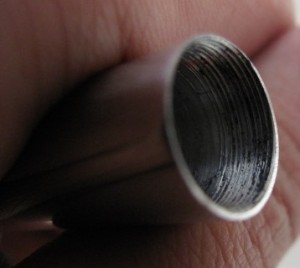
…and here is the back of the case.
When combined, you get this. I also cut off the unnecessary piece of the aluminum tube and marked areas where the tube would need to be cut for the flashlight head.
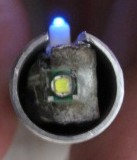
Here you can see the flashlight head inserted into the case. As you can see, the blue SMD LED on the DPDT switch works perfectly, and the IR receiver is exposed to allow it to receive control signals.
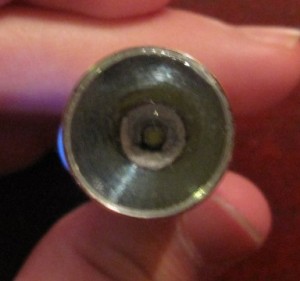
Here’s a front view of the flashlight.
Finally, the finishing touches were added to the flashlight, including the lens and switch cap. This is a bottom view of the flashlight, showing the female header ports (for port keys).
From the top, you can see the lighted switch and logo.
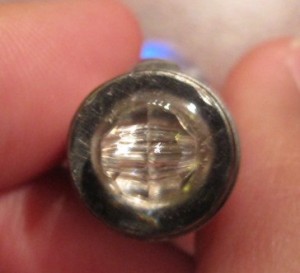
From the front, you can see the lens and XP-E LED.
From the back, you can see the key ring attachment.
|
|
|
Here’s a picture of me holding the completed flashlight. It’s very small but still looks somewhat professional (at least, much more so than my other ones). You can also see that the Li-Ion is very small (10280 = 10mm dia. x 28mm long). Interestingly, of the three pieces shown in the right image, the tail cap is the heaviest (since it’s made of steel). So clearly, the flashlight is small and fairly light. But how bright is it, and how long does it last?
|
|
|
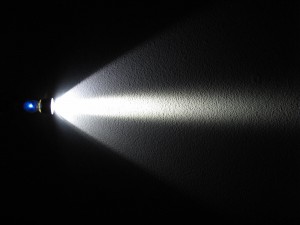
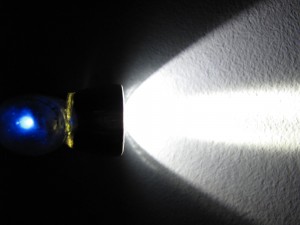
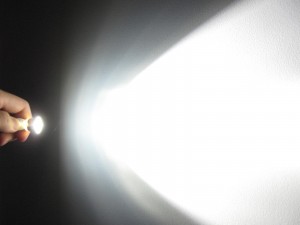
Here are two views of the flashlight with the default brightness (with $V_{in} = \frac{1}{2}\text{V}_{\text{cc}}$ and overall intensity $\approx 2\%$ of max intensity [thanks to the exponentiation routine]). Unfortunately, it was really difficult to get a good picture of the flashlight at full power since the camera either auto-adjusted (making everything seem really dark) or didn’t adjust fast enough (making the whole image white).
The image above seems to be a decent balance between the two. I tried to take a head-on picture of the flashlight, but even at 2%, the camera couldn’t handle the point light source. Oh well…
Also, I did some very preliminary testing on the flashlight after fully charging the battery. At the default brightness, I left the flashlight on for slightly more than 5 hours, and the battery voltage dropped from 4.20V to 3.75V. This easily beats my expectations of the flashlight (especially with such a small power source). I would have tried the same test for the high power setting, but I didn’t want to risk burning out the LED or the battery.
So overall, this was a fun and pretty involved project. The product was even nicer than I expected, although it could certainly be improved (for my up and coming AG:MF02 featuring a Cree XM-L U2 LED…). The light output, exponential function, durability, and IR functions of the flashlight all worked to plan.
I’m still using this flashlight, and plan to continue using it until I make the XM-L based AG:MF02.

