This is another flashlight project, actually a continuation of the AG:MF02. Stay tuned for updates on the project (I’ll add my documentation to these pages as time permits). For now, here are some pictures representative of the current stage of this flashlight:
-
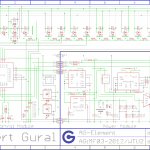
- Schematic diagram. I know I should be using more labels, but I really like having everything compactly in one rectangle. I’ll probably produce a more human-readable version soon. :/
-
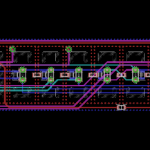
- Board layout. Because of the small size requirements, I had to take some… er… creative liberties (like soldering LEDs on top of vias).
-
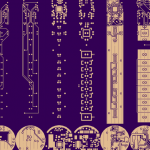
- I used OshPark, since they provide 4-layer board services for small batch orders for a reasonable price.
-
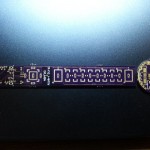
- Board from OshPark. Looks good to me.
-

- Starting to solder some components…
-
- Finished soldering most of the components for the two separate boards.
-
- Boards are connected together (right now I’m fixing a dead IC).
-

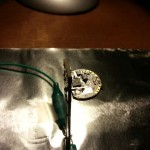
- Machining a heatsink for the LED.
-
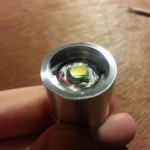
- Completed heatsink with the LED (which also has a small heatsink) inserted.
-
- The reflector fits snuggly over the LED and inside the heatsink.
-
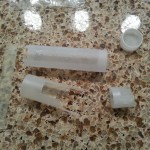
- 3D-printed prototype case parts.
-
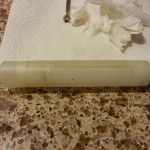
- Prototype case, mostly assembled. The screw-tail cap also works! Unfortunately, the tiny fastening screws don’t.
-

- Programming in bed.
-
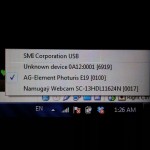
- Windows detects my flashlight as an HID device!
-

- Programming on the plane back home.
-
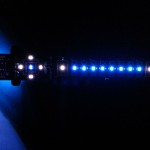
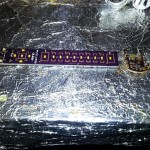
- Close-up of the display LEDs.
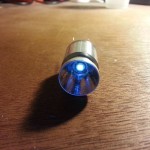
Also, here’s what the driven LED looks like. Right now I’m getting peak currents around 2.5A (just under the LED max current rating).